Difference between revisions of "Removing the IR Filter from the PS3 Eye Camera"
m |
m |
||
| Line 42: | Line 42: | ||
There are two screws located at the bottom, remove the screws, and the bottom piece of the eye camera (the stand) should come off. | There are two screws located at the bottom, remove the screws, and the bottom piece of the eye camera (the stand) should come off. | ||
| + | [[File:DSC00679.JPG|200px|thumb|center|]] | ||
[[File:DSC00684.JPG|200px|thumb|center|]] | [[File:DSC00684.JPG|200px|thumb|center|]] | ||
| Line 47: | Line 48: | ||
| − | '''Step 5:''' On the circuit board, remove | + | '''Step 5:''' On the circuit board, remove the 4 screws circled in red shown on the image. |
| + | [[File:DSC00687.JPG|200px|thumb|center|]] | ||
| − | |||
| − | |||
| − | |||
| − | '''Step | + | '''Step 6:'''At this point you should be able to remove the circuit board. |
| − | |||
| − | '''Step | + | [[File:DSC00703.JPG|200px|thumb|center|]] |
| + | [[File:DSC00696.JPG|200px|thumb|center|]] | ||
| + | |||
| + | |||
| + | '''Step 7:''' The lens should be detached from the circuit board since the screws were removed in Step 5. | ||
| + | |||
| + | [[File:DSC00709.JPG|200px|thumb|center|]] | ||
| + | |||
| + | |||
| + | |||
| + | '''Step 8:''' Take the lens and hold it up with the square side facing you.You should see a small circular piece of glass, which is the IR filter.Use a Flat Head to gently tap all around the connection between the IR filter and the lens. Then repeat the process with a blade. | ||
| + | |||
| + | [[File:DSC00713.JPG|200px|thumb|center|]] | ||
| + | |||
| + | |||
| + | Continue until you can remove the filter. Be careful, it's glass! | ||
| + | |||
| + | |||
| + | [[File:DSC00715.JPG|200px|thumb|center|]] | ||
| + | |||
| + | [[File:DSC00715.JPG|200px|thumb|center|Lens without IR filter]] | ||
| + | |||
| + | '''Step 9:''' | ||
| + | |||
| + | '''Step 10:''' | ||
| + | |||
| + | '''Step 11:''' | ||
Revision as of 17:06, 27 February 2015
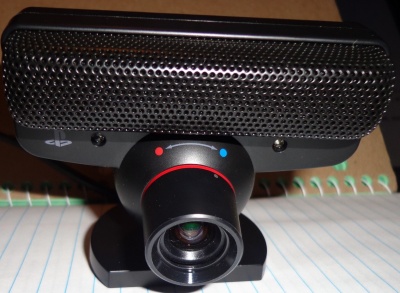
The IR filter is responsible for prohibiting infrared materials to be visible through a camera. Removing the IR filter allows for infrared to be visible.
This is a step by step tutorial on removing the Infrared (IR) filter from the PS3 Eye Camera.
It's important to note that this tutorial is specific to the PS3 Eye Camera and other cameras may require different procedures
Minimum Materials Needed:
PS3 Eye Camera
Screwdriver
Flathead
Box Cutter (or anything with a blade)
Step 1: Hold the camera with the back of the camera facing you, and pop off the 4 circular black plastic dots using a Flathead or blade.
Step 2: Remove the 4 screws.
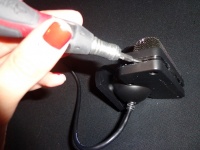
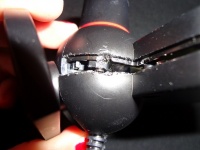
Step 3: Use a Flathead to break the eye camera apart. Begin by starting on the side of the camera. This can be done by inserting the Flathead in between the plastic pieces and slowly pulling them away from each other.
Note: The hard part is the area below the USB connection, you may need to apply more pressure to get these pieces separated, and may need to use a blade.
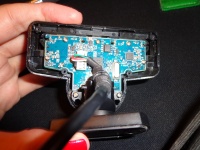
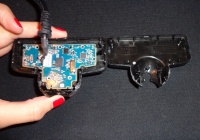
Step 4: At this point you should have separated the parts and should be able to see the circuit board.
There are two screws located at the bottom, remove the screws, and the bottom piece of the eye camera (the stand) should come off.
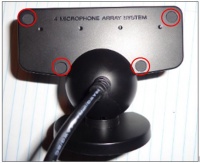
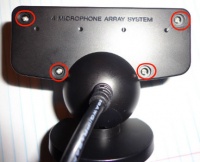
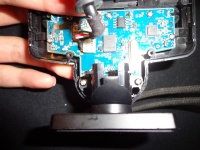
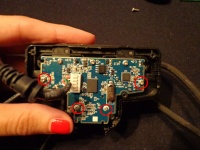
Step 5: On the circuit board, remove the 4 screws circled in red shown on the image.
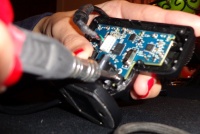
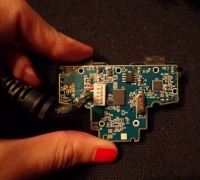
Step 6:At this point you should be able to remove the circuit board.
Step 7: The lens should be detached from the circuit board since the screws were removed in Step 5.
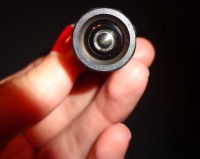
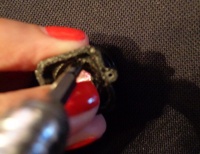
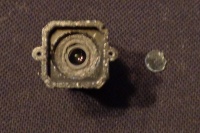
Step 8: Take the lens and hold it up with the square side facing you.You should see a small circular piece of glass, which is the IR filter.Use a Flat Head to gently tap all around the connection between the IR filter and the lens. Then repeat the process with a blade.
Continue until you can remove the filter. Be careful, it's glass!
Step 9:
Step 10:
Step 11:
