Difference between revisions of "Connecting all the parts"
From Lofaro Lab Wiki
| Line 1: | Line 1: | ||
| − | + | This is the 4th part of building Minibot see the other parts if you have not done so. | |
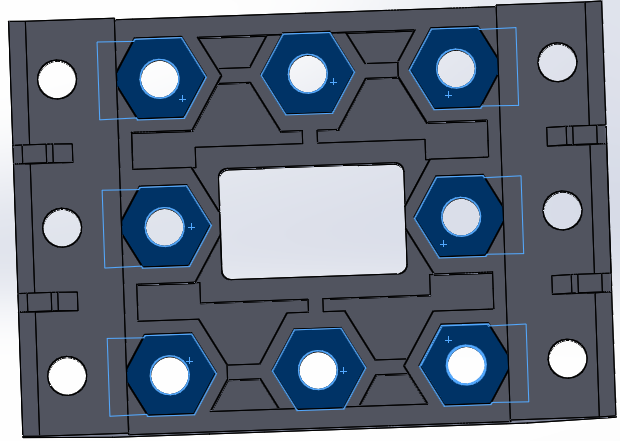
| − | + | First we connect the head to the body to do that we need to put nuts into the f53 part as we did with the base. | |
* 8 N1 nuts | * 8 N1 nuts | ||
[[File:F53holes.png]] | [[File:F53holes.png]] | ||
| − | + | Next connect it to the servo with the other holes as shown in the figure. | |
* 4-6 S1 screws | * 4-6 S1 screws | ||
* 4-6 N1 nuts | * 4-6 N1 nuts | ||
| Line 12: | Line 12: | ||
[[File:Headattach.png]] | [[File:Headattach.png]] | ||
| − | + | After doing that carefully add the s2 screws to the N1 nuts. | |
* 8 S2 screws | * 8 S2 screws | ||
[[File:Headtobody.png]] | [[File:Headtobody.png]] | ||
| − | + | All that is left is to connect the arm for that you will need. | |
* 4 S1 screws and 4 N1 nuts | * 4 S1 screws and 4 N1 nuts | ||
Latest revision as of 10:51, 3 December 2014
This is the 4th part of building Minibot see the other parts if you have not done so.
First we connect the head to the body to do that we need to put nuts into the f53 part as we did with the base.
- 8 N1 nuts
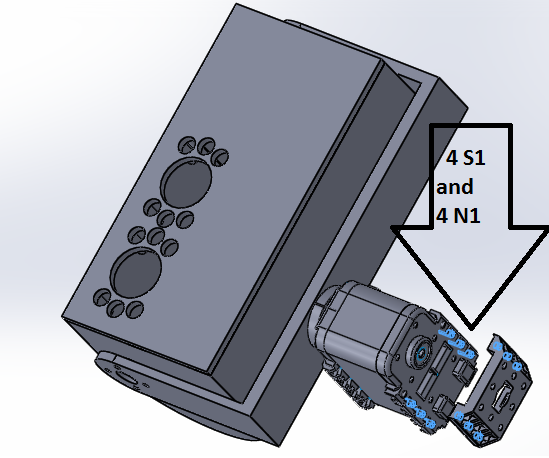
Next connect it to the servo with the other holes as shown in the figure.
- 4-6 S1 screws
- 4-6 N1 nuts
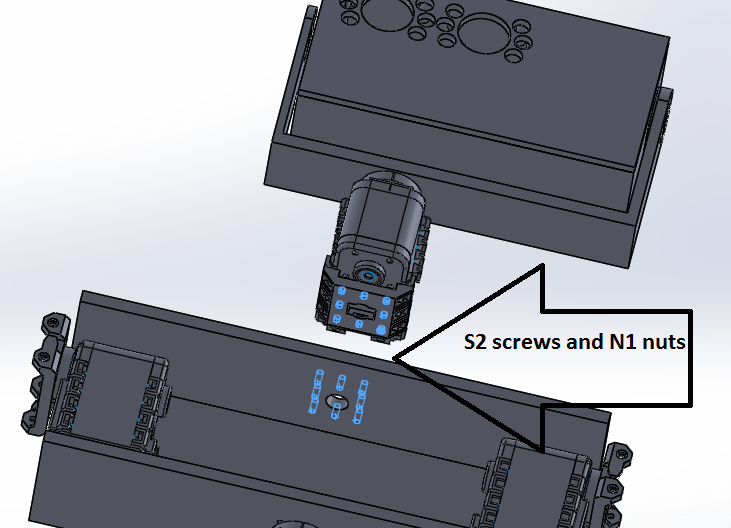
After doing that carefully add the s2 screws to the N1 nuts.
- 8 S2 screws
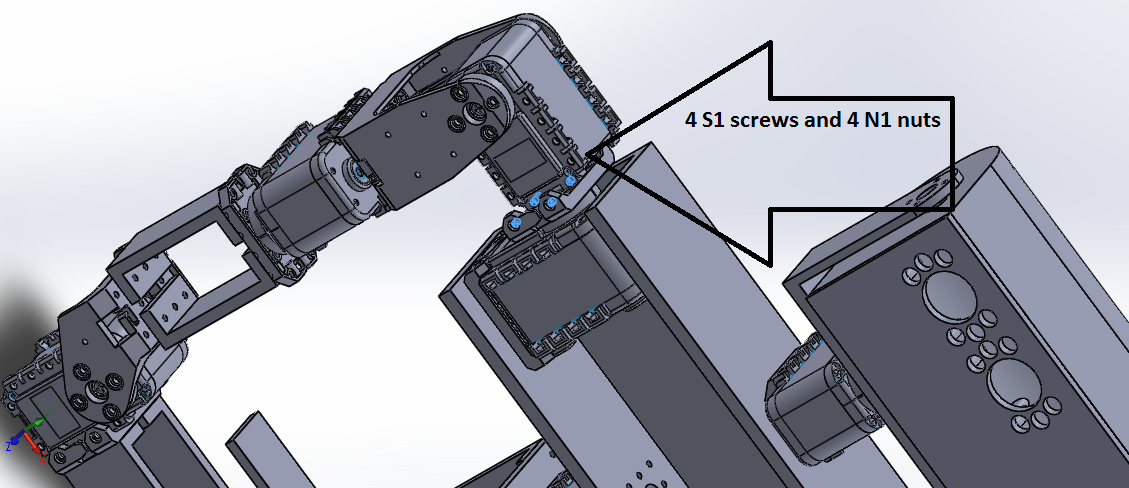
All that is left is to connect the arm for that you will need.
- 4 S1 screws and 4 N1 nuts
congrats you are done


