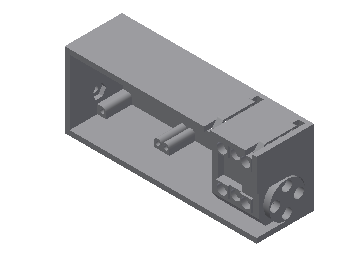
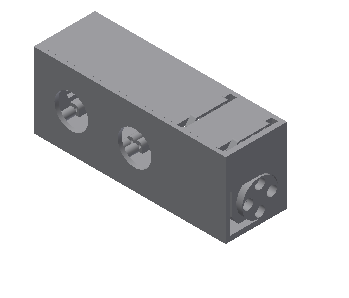
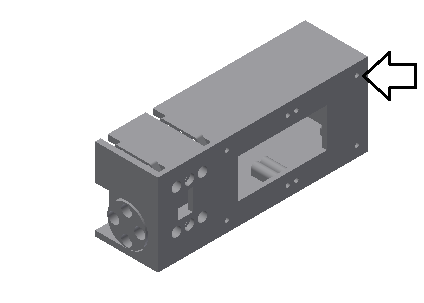
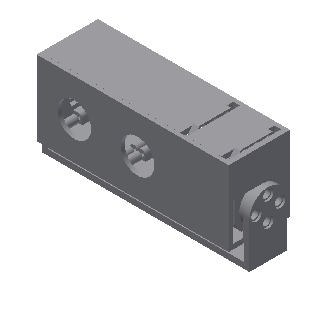
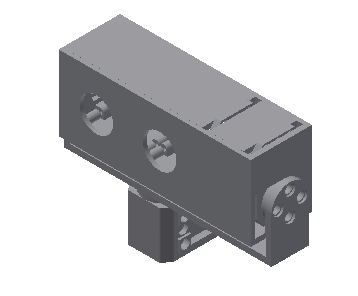
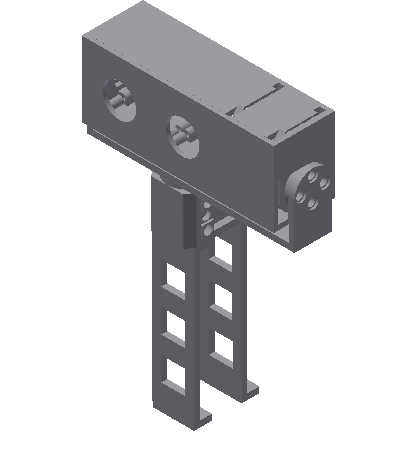
CRITR/Generation 1/Head
From Lofaro Lab Wiki
Notes:
- The zero positions of servo’s will be place at top of the servo.
- Face the servo as shown in image.
- 2-step rivets are used for all instruction except where indicated.
- To construct, follow the pictures below in order.
3D printing :
- STL files are uploaded here.
- You might need to convert STL files to 3D printable file.
Smaller holes uses screws S6 from Robotis.
